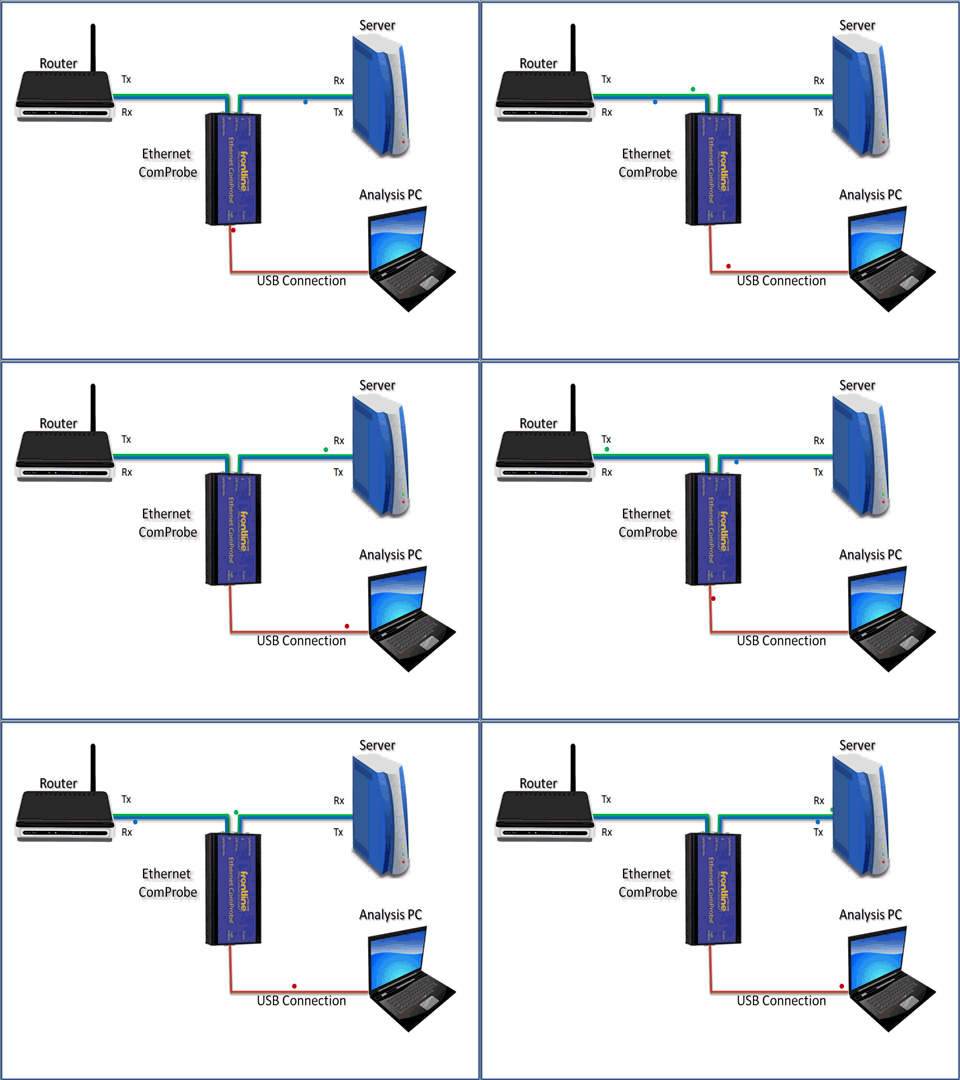
The Ethernet ComProbe is easy to use. Follow these steps to set up and configure your device.
To setup your PC to use the Ethernet ComProbe:
- Install Frontline’s software (either Ethertest or NetDecoder)
- Install WinPcap 4.1.1 or newer (for your convenience the installer for WinPCap is included on the Frontline CD)
- Install the drivers for the Ethernet ComProbe: Insert the USB cable from the Ethernet ComProbe to your PC. Follow the
installation wizard and install the drivers for the Ethernet ComProbe.
- Open up your PC’s network configuration guide and manually set up IP addresses for the Ethernet ComProbe.
Note: These addresses are visible only between the applications on your analysis PC and the
Ethernet ComProbe. Neither the analysis PC nor the Ethernet ComProbe show up on the network.
- IP address: 192.168.0.1
- Subnet mask: 255.0.0.0
You are now ready to use the Ethernet ComProbe.
To tap the connection between a server and a switch:
- Unplug one end of Ethernet Cable from the switch and plug it into one of the RJ45 ports on the Ethernet ComProbe.
- Use a second Ethernet cable and connect it between the second RJ45 port on the Ethernet ComProbe and the switch.
- Connect a USB cable between the USB port on the Ethernet ComProbe and a USB port on your analysis PC.
- Run either NetDecoder or Ethertest on your analysis PC and capture data