Connecting/Powering the Frontline 802.11
Once you have attached the antennas, the next step is to power up and connect the Frontline 802.11 to the computer.
-
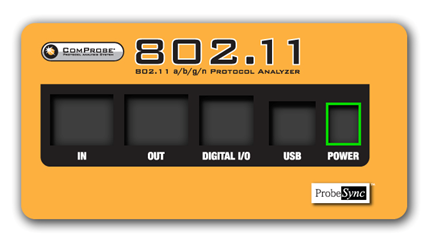
Insert the power cable (DC connector) from the 12 volt AC adapter into the Power port on the Frontline 802.11 back panel ( "Back Panel - Power").
- Plug the 12 volt AC adapter into the AC power source. The front panel Power light illuminate .
-
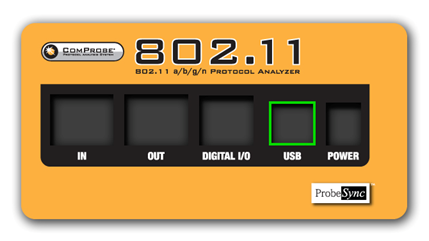
Insert the USB cable into the USB port on the Frontline 802.11 back panel.
-
Insert the other end of the USB cable into the PC.
- It may take as long as thirty seconds for Windows to recognize that the Frontline 802.11 hardware is connected to the PC. The Activity light on the Frontline 802.11 front panel will blink during this period, when the light is steady, the Frontline 802.11 hardware is ready to communicate with the Frontline software.